Connect to Xero
To use the Xero connection, you must have a Xero account and an Expensify Collect plan.
To set up your Xero connection, complete the 4 steps below.
Step 1: Connect Expensify to Xero
- Click your profile image or icon in the bottom left menu.
- Scroll down and click Workspaces in the left menu.
- Select the workspace you want to connect to Xero.
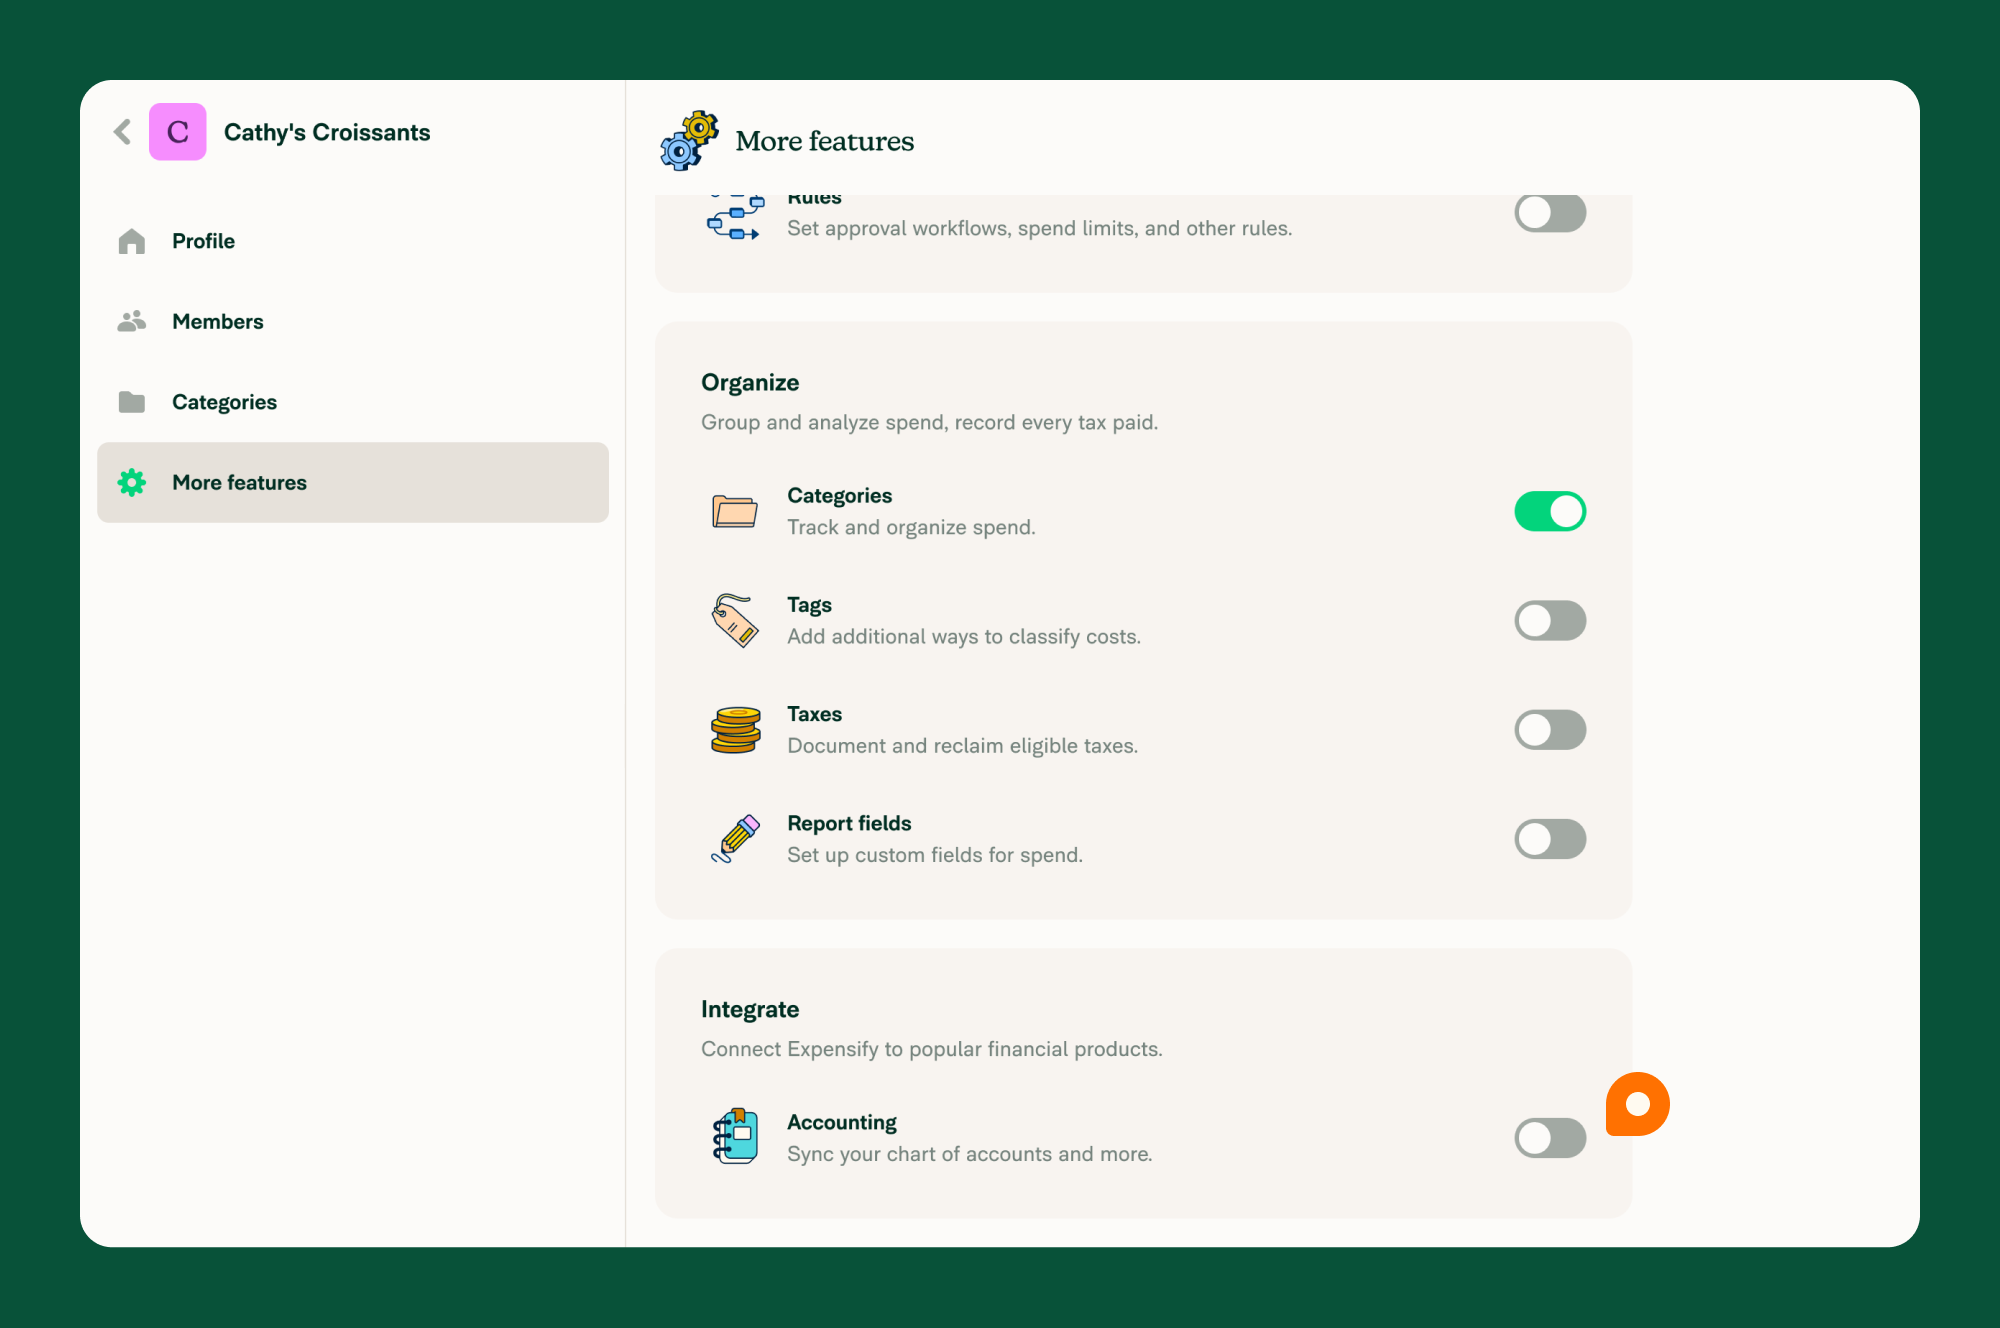
- Click More features in the left menu.
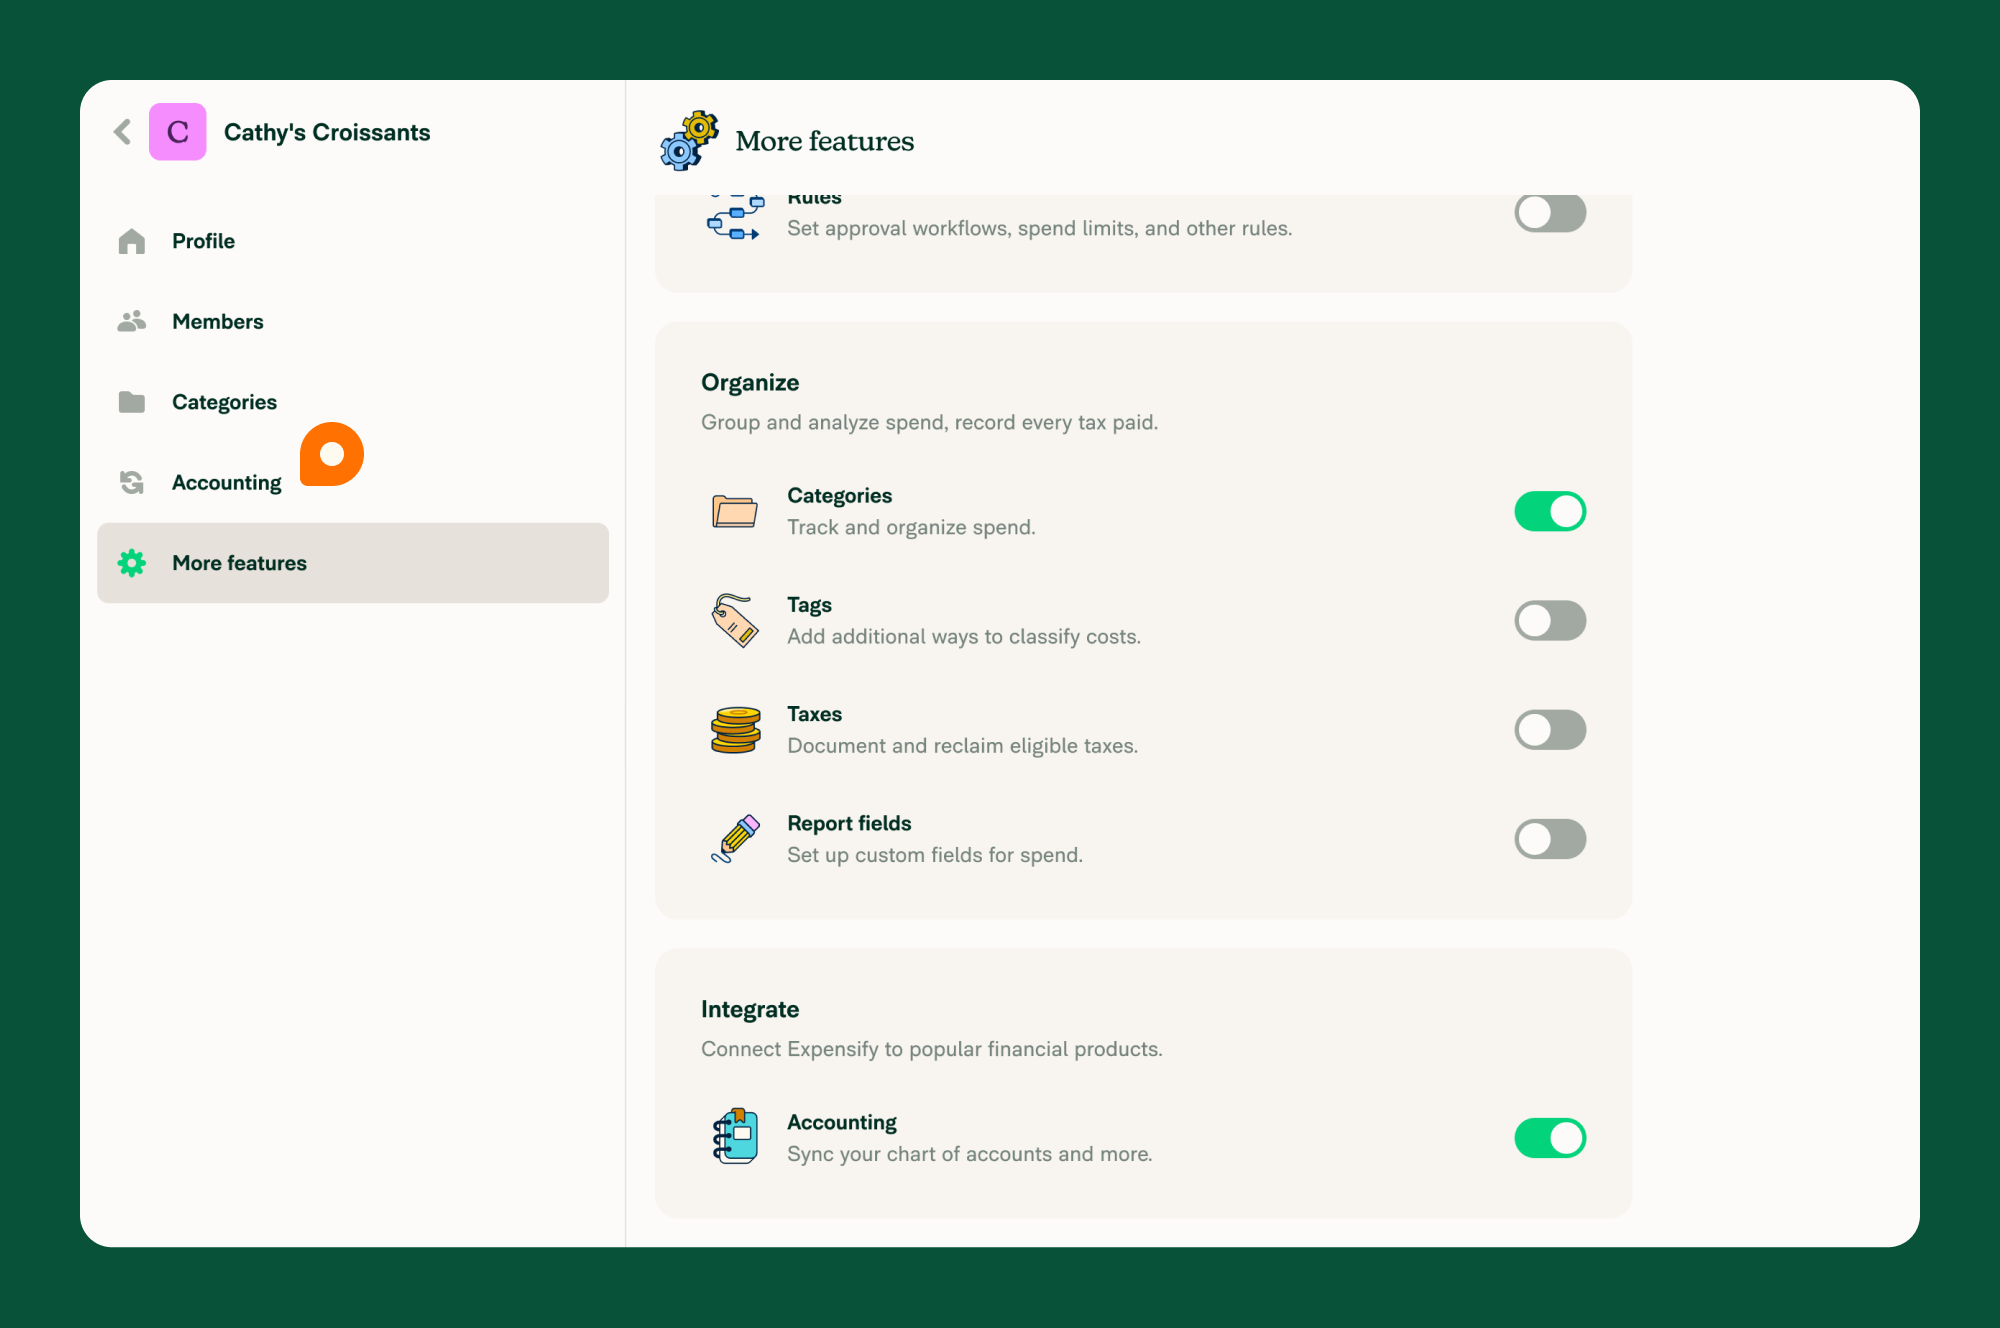
- Scroll down to the Integrate section and enable the Accounting toggle.
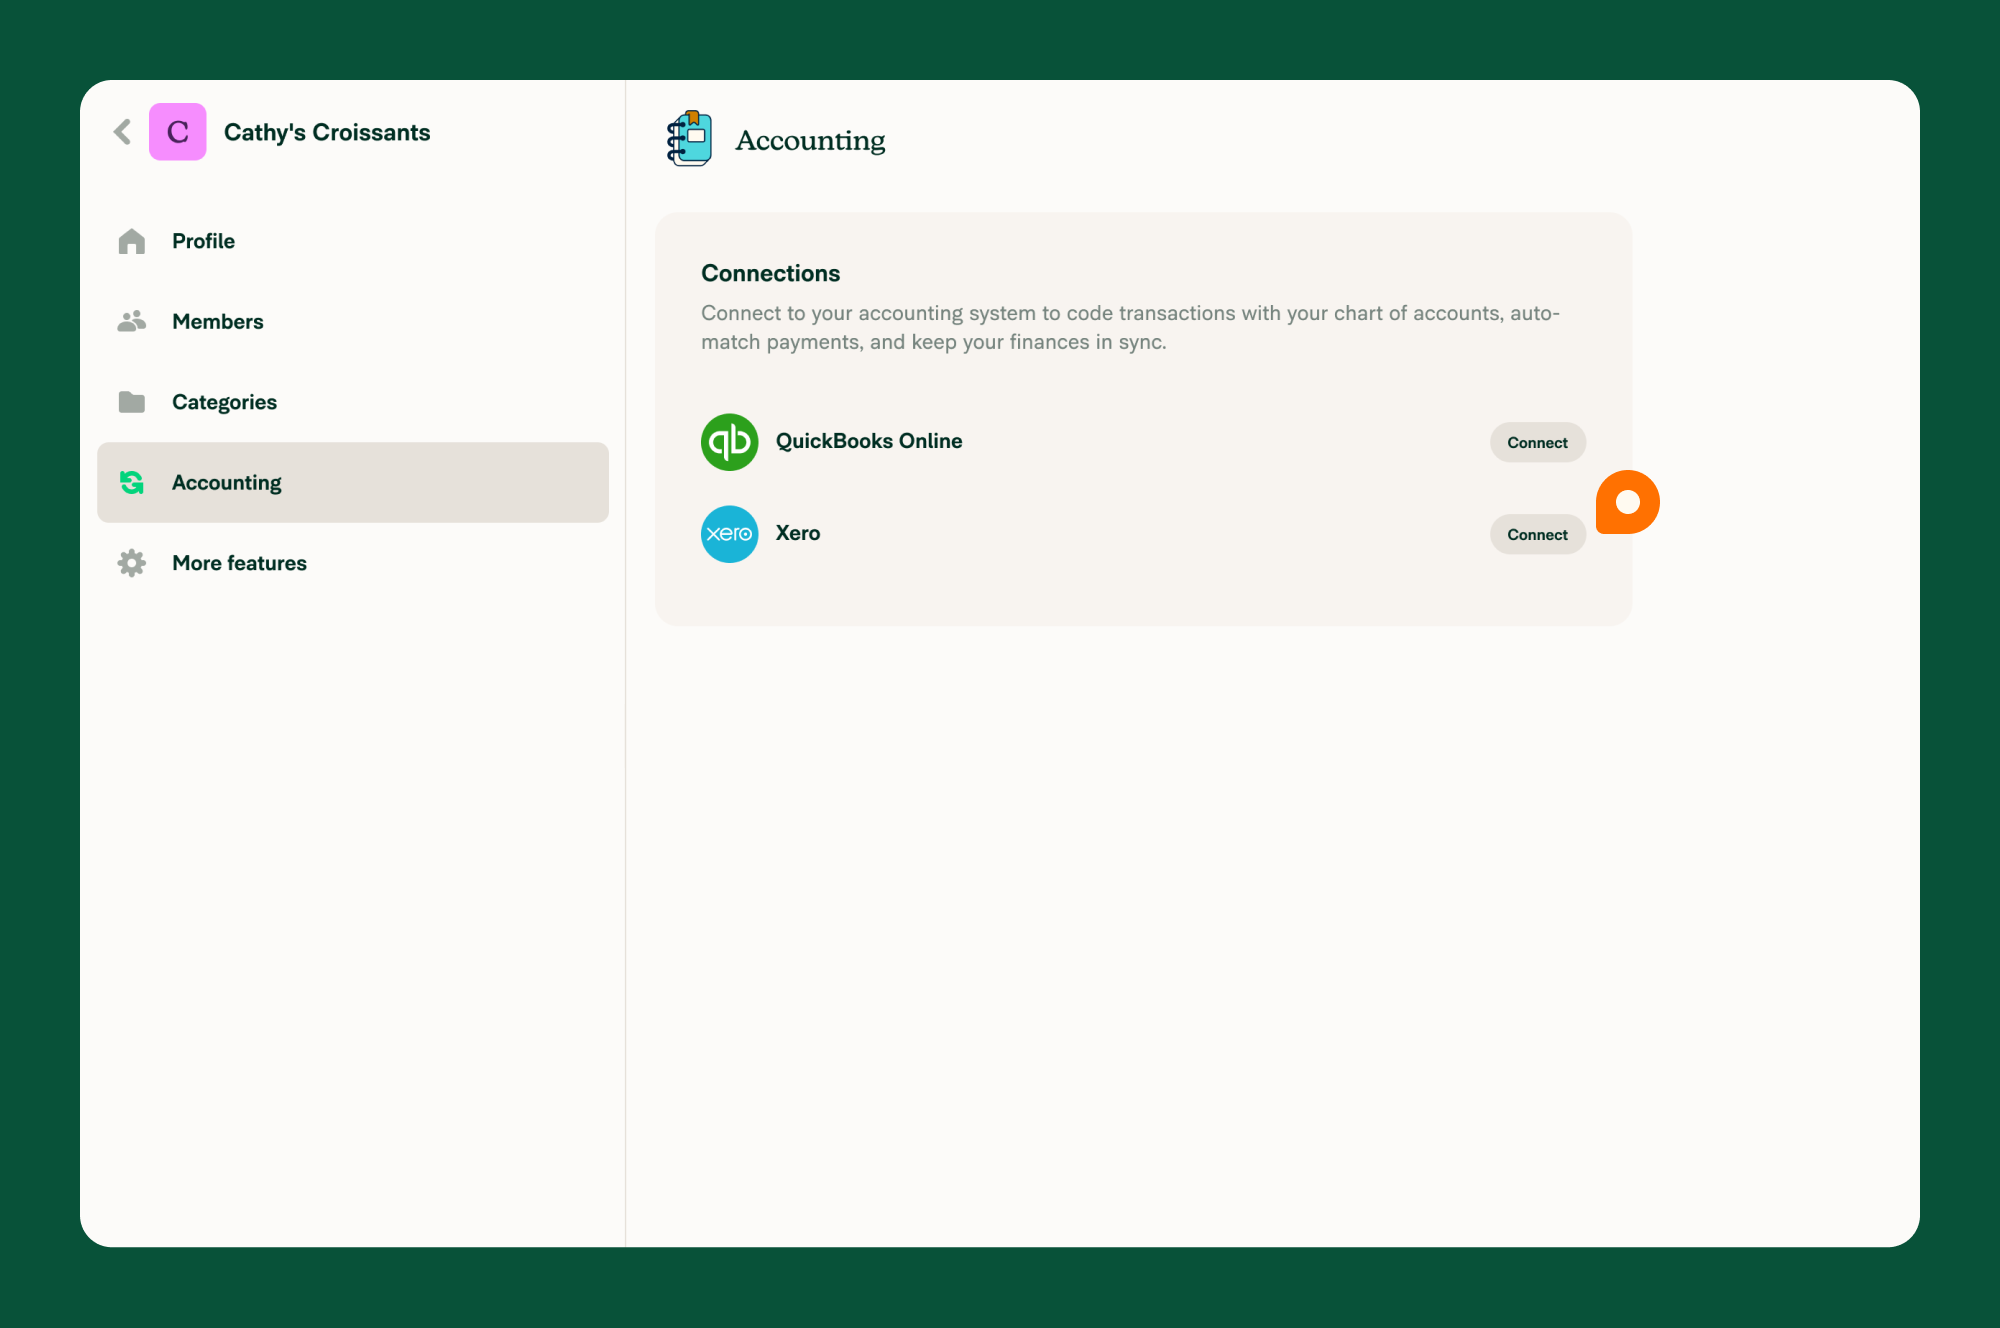
- Click Accounting in the left menu.
- Click Set up to the right of Xero.
- Enter your Xero login details to import your settings from Xero to Expensify.


Step 2: Configure import settings
The following steps help you determine how data will be imported from Xero to Expensify.
- Under the Accounting settings for your workspace, click Import under the Xero connection.
- Select an option for each of the following settings to determine what information will be imported from Xero into Expensify:
- Xero organization: Select which Xero organization your Expensify workspace is connected to. Each organization can only be connected to one workspace at a time.
- Chart of Accounts: Your Xero chart of accounts and any accounts marked as “Show In Expense Claims” will be automatically imported into Expensify as Categories. This cannot be amended.
- Tracking Categories: Choose whether to import your Xero categories for cost centers and regions as tags in Expensify.
- Re-bill Customers: When enabled, Xero customer contacts are imported into Expensify as tags for expense tracking. After exporting to Xero, tagged billable expenses can be included on a sales invoice to your customer.
- Taxes: Choose whether to import tax rates and tax defaults from Xero.
Step 3: Configure export settings
The following steps help you determine how data will be exported from Expensify to Xero.
- Under the Accounting settings for your workspace, click Export under the Xero connection.
- Review each of the following export settings:
- Preferred Exporter: Choose whether to assign a Workspace Admin as the Preferred Exporter. Once selected, the Preferred Exporter automatically receives reports for export in their account to help automate the exporting process.
- Other Workspace Admins will still be able to export to Xero.
- If you set different export accounts for individual company cards under your domain settings, then your Preferred Exporter must be a Domain Admin.
- Export Out-of-Pocket Expenses as: All out-of-pocket expenses will be exported as purchase bills. This cannot be amended.
- Purchase Bill Date: Choose whether to use the date of last expense, export date, or submitted date.
- Export invoices as: All invoices exported to Xero will be as a sales invoice. This cannot be amended.
- Export company card expenses as: All company card expenses export to Xero as bank transactions. This cannot be amended.
- Xero Bank Account: Select which bank account will be used to post bank transactions when non-reimbursable expenses are exported.
Step 4: Configure advanced settings
The following steps help you determine the advanced settings for your connection, like auto-sync.
- Under the Accounting settings for your workspace, click Advanced under the Xero connection.
- Select an option for each of the following settings:
- Auto-sync: Choose whether to enable Xero to automatically communicate changes with Expensify to ensure that the data shared between the two systems is up-to-date. New report approvals/reimbursements will be synced during the next auto-sync period. Once you’ve added a business bank account for ACH reimbursement, any reimbursable expenses will be sent to Xero automatically when the report is reimbursed. For non-reimbursable reports, Expensify automatically queues the report to export to Xero after it has completed the approval workflow in Expensify.
- Set Purchase Bill Status: Choose the status of your purchase bills:
- Draft
- Awaiting Approval
- Awaiting Payment
- Sync Reimbursed Reports: Choose whether to enable report syncing for reimbursed expenses. If enabled, all reports that are marked as Paid in Xero will also show in Expensify as Paid. If enabled, you must also select the Xero account that reimbursements are coming out of, and Expensify will automatically create the payment in Xero.
- Xero Bill Payment Account: If you enable Sync Reimbursed Reports, you must select the Xero Bill Payment account your reimbursements will come from.
- Xero Invoice Collections Account: If you are exporting invoices from Expensify, select the invoice collection account that you want invoices to appear under once they are marked as paid.
FAQ
How do I disconnect Xero from Expensify?
- Click your profile image or icon in the bottom left menu.
- Scroll down and click Workspaces in the left menu.
- Select the workspace you want to disconnect from Xero.
- Click Accounting in the left menu.
- Click the three dot menu icon to the right of Xero and select Disconnect.
- Click Disconnect to confirm.
You will no longer see the imported options from Xero.


